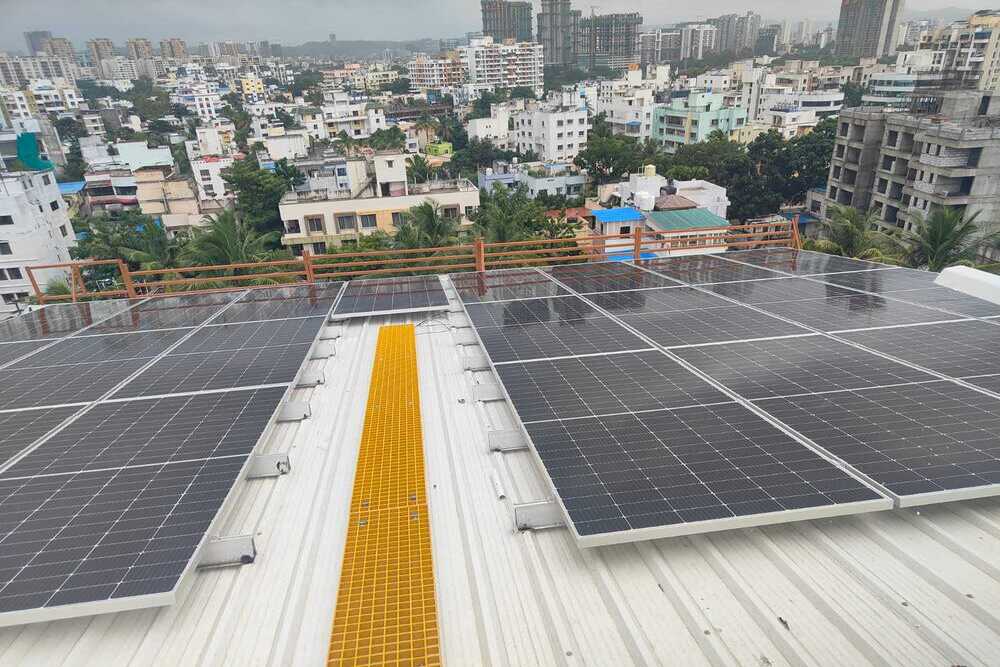
Designing Solar Model


Designing Solar Model
Solar design software is designed to help solar installers visualize and analyze a solar system before installation. It enables users to create optimized designs based on their specific needs and preferences, such as the size of the roof, type of equipment, budget constraints, local incentives and more. Solar design software allows installers to design systems quickly with maximum efficiency in mind. It can also be used for the pre-inspection of projects and tracking through completion so that everything goes smoothly from start to finish.
Solar design software provides many features such as automated layout tools, shading analysis tools, energy yield calculators and financial analysis tools, allowing users to make informed decisions about their projects. Designing a solar project is often a complex process involving multiple stakeholders. With solar design software, users can quickly and accurately communicate their ideas with a variety of stakeholders. This allows for better collaboration between all parties involved in the project, resulting in improved quality, lower costs and shorter timelines. Solar design software also helps installers keep up-to-date with current regulations and standards, ensuring compliance with local laws and industry guidelines.
Solar design software provides many features such as automated layout tools, shading analysis tools, energy yield calculators and financial analysis tools, allowing users to make informed decisions about their projects. Designing a solar project is often a complex process involving multiple stakeholders. With solar design software, users can quickly and accurately communicate their ideas with a variety of stakeholders. This allows for better collaboration between all parties involved in the project, resulting in improved quality, lower costs and shorter timelines. Solar design software also helps installers keep up-to-date with current regulations and standards, ensuring compliance with local laws and industry guidelines.
- Solar Panels:
- Function: Convert sunlight into electrical energy (DC).
- Material: Small, photovoltaic cells or solar panels, available from electronics suppliers.
- Battery or Capacitor:
- Function: Stores the electrical energy generated by the solar panels for later use.
- Material: Rechargeable batteries (like lithium-ion) or capacitors.
- Charge Controller (Optional):
- Function: Manages the flow of electricity from the solar panels to the battery, preventing overcharging.
- Material: A small charge controller module (optional for a simple model).
- Inverter (Optional):
- Function: Converts DC (direct current) from the solar panel/battery to AC (alternating current) for powering standard electrical devices.
- Material: A small inverter module (optional for a simple model).
- Electrical Load:
- Function: The device powered by the solar energy (e.g., LED lights, small motor).
- Material: LED bulbs or small DC motors.
- Wiring:
- Function: Connects all components to form the circuit.
- Material: Insulated copper wires.
- Switches:
- Function: Control the flow of electricity in the circuit.
- Material: Toggle or push-button switches.
- Base or Platform:
- Function: Provides a stable surface to mount all components.
- Material: Wood, plastic, or cardboard.
Steps to Build the Model:
- Design the Layout:
- Plan where each component will be placed on your base. Ensure that the solar panel is positioned to receive maximum sunlight.
- Mount the Solar Panels:
- Attach the solar panel to the base at an angle that optimizes sunlight capture. The angle should be approximately equal to the latitude of your location.
- Connect the Solar Panel to the Battery:
- Use wires to connect the positive terminal of the solar panel to the positive terminal of the battery, and the negative terminal of the panel to the negative terminal of the battery.
- Install the Charge Controller (Optional):
- Place the charge controller between the solar panel and the battery to regulate the charging process.
- Connect the Inverter (Optional):
- If you want to demonstrate AC power, connect the inverter to the battery. The inverter will convert the stored DC power to AC.
- Wire the Electrical Load:
- Connect the electrical load (like an LED or motor) to the battery or inverter. Use a switch in the circuit to control the device.
- Test the Model:
- Place the model in direct sunlight or under a strong light source. Turn on the switch to see the load being powered by solar energy.
- Label and Explain:
- Add labels to each component explaining its role in the system. Prepare an explanation of how solar energy is converted into electricity and used in the model.
